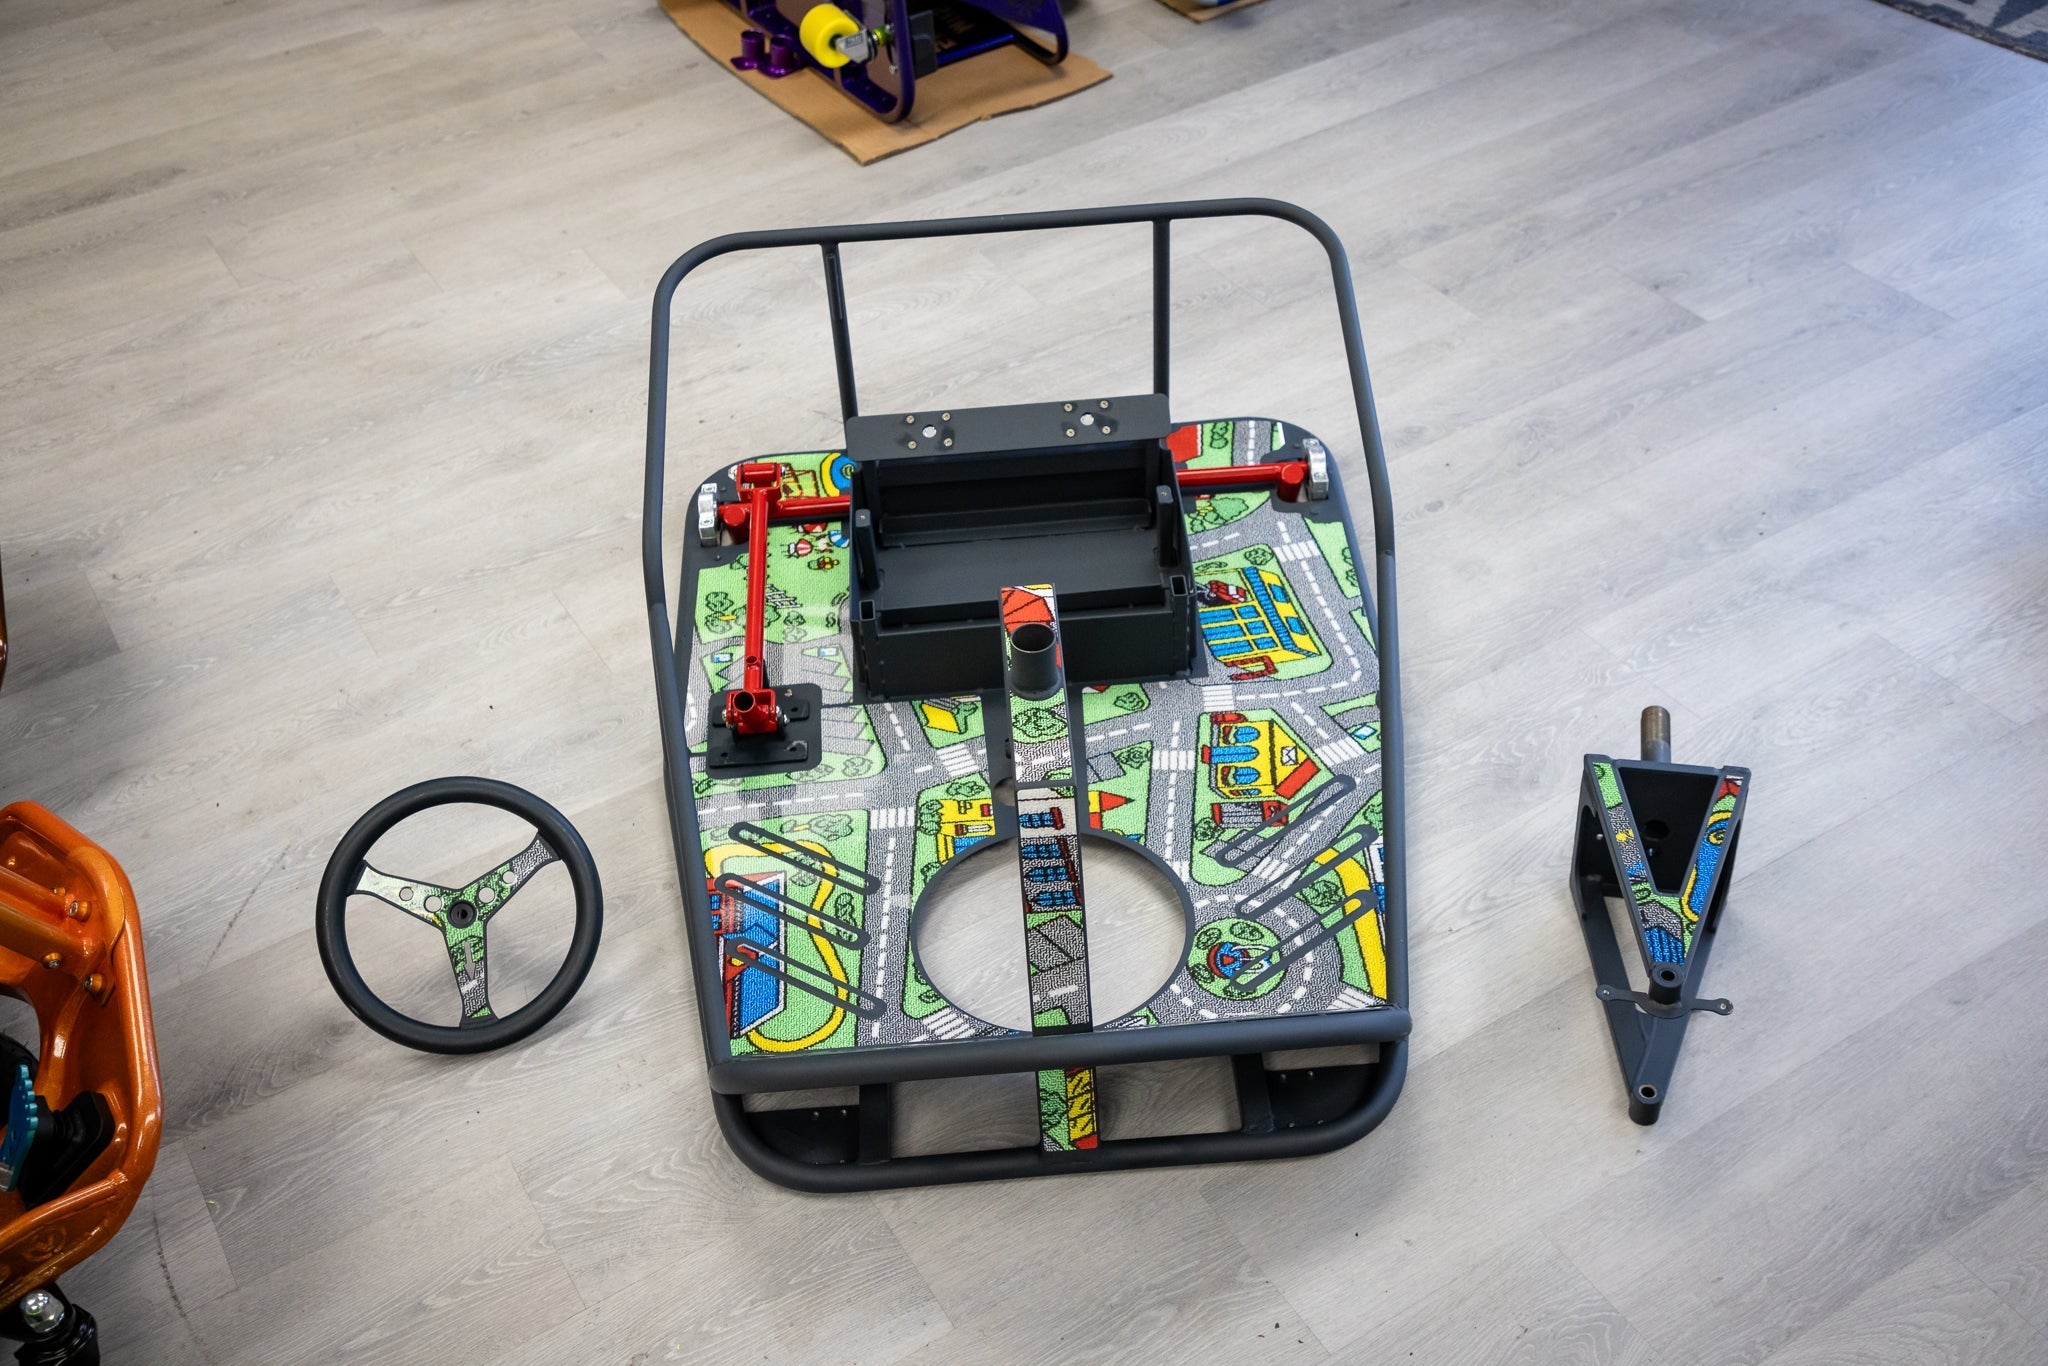
The Ultimate Guide to Applying Your Graphics Kit Like a Pro

You just got your Ripskinz graphics kit—now it’s time to install it like a pro! Follow these simple steps for a flawless application:
1. Prep Your Surface – Start with a clean, dry surface. Remove any dirt, grease, or old decals to ensure a strong bond.
2. Align Your Graphics – Before peeling the backing, position your decals to check alignment. Take your time—precision is key!
3. Apply with Care – Peel the backing and spray the included slip solution. Make sure to spray both top and bottom of the graphic so the squeegee can slide. Use the application tools to smooth out bubbles as you go.
4. Heat & Seal – Using a heat gun or hairdryer, gently warm the vinyl to help it conform to curves and edges. This step ensures long-lasting adhesion.
5. Enjoy the Fresh Look – Step back and admire your work! Your ride is now looking better than ever, with graphics that are built to last.
With Ripskinz, installation is stress-free, and the results speak for themselves. Ready to upgrade your setup? Explore our designs and start turning heads today!

